Manage trial bookings — reschedule, convert, and close
Trials are client-initiated. Clients book their own trial via the website booking form. You cannot create a trial booking manually on behalf of a client — this is by design. Instead, send the client your booking link and let them choose a date. If you need to adjust, transfer, or reschedule after they've booked, use the steps below.
What happens after a client books a trial
Once a client submits a trial booking, their status is Trial started. From that point, you have full control:
| Situation | What to do |
|---|---|
| Trial went ahead — client wants to enrol | Convert to full booking |
| Trial went ahead — client is not continuing | Mark as Trial Lost |
| Client didn't show up — wants to try again | Reschedule to a new date |
| Client wants a different class or time | Transfer to another class |
| Trial was booked as a regular registration by mistake | Convert existing booking to trial |
Trial statuses — what each one means
| Status | What it means | Set by |
|---|---|---|
| Trial started | Client booked a trial; session is upcoming or in progress | Client (at booking) |
| Trial attended | You confirmed the client attended the session | Admin (manually via Change status) |
| Trial won | Client enrolled after the trial | Admin (when converting to full booking) |
| Trial lost | Client did not continue — no-show, declined, or no response | Admin manually, or automatically by the system |
| Trial cancelled | Trial was cancelled before it took place | Admin |
When does the system automatically set Trial Lost?
Zooza marks a trial as Trial Lost automatically after a configured number of days have passed since the trial session without you taking any action (converting, marking attended, or rescheduling).
The auto-lost timeout is set at the account or programme level. If you see a trial flip to Lost unexpectedly:
- Go to Programme → Settings → Trial and check the Auto-lost after X days setting.
- Increase the value if you need more time to follow up with clients before the trial is auto-closed.
A trial marked Lost by the system behaves the same as one you mark manually — it releases the capacity spot and stops follow-up messages.
How to confirm a trial session was attended
If a client came to the trial but the status is not yet updated:
- Open the booking detail.
- Click Change status → Trial attended.
This records attendance without converting to a full booking. Use this when you want to mark the session as completed but have not yet decided whether the client will enrol.
How to enrol a client after their trial was marked Lost
A Lost status does not prevent you from enrolling the client — it just closes the trial flow. To re-enrol:
- Open the booking detail (the Lost trial booking).
- Click Change status → Enrolled (or use Transfer to move them to a different class first).
If the booking is already too old or you prefer a clean start, create a new regular booking for the client from scratch.
How to convert a trial to a full booking
When a trial client decides to enrol:
- Open the booking detail.
- Click Change status.
- Select Enrolled (or the appropriate active status for your programme).
- Confirm.
The booking stays on the same class. All existing attendance records are preserved.
If the programme uses paid trials, any payment already collected counts towards the total — you'll see the balance reflected on the booking.
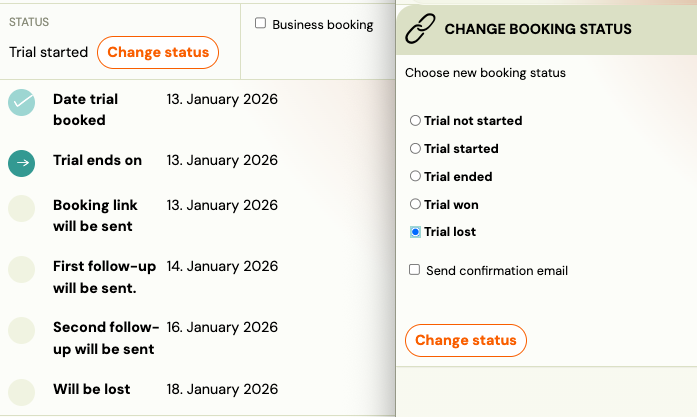
How to mark a trial as lost
If a trial client is not continuing — they didn't show up, decided not to enrol, or you've had no response:
- Open the booking detail.
- Click Change status → Trial Lost.
- Optionally send an email — the client receives a message with a link to book again if they change their mind.
Marking as Trial Lost:
- Releases the reserved capacity spot immediately.
- Stops any automated trial follow-up messages.
- Does not delete the booking — it stays in the history.
If the trial was paid: The payment record remains on the booking. If you need to issue a refund, do that manually via your payment provider (Stripe or GoCardless) after marking as lost.
How to reschedule a trial session
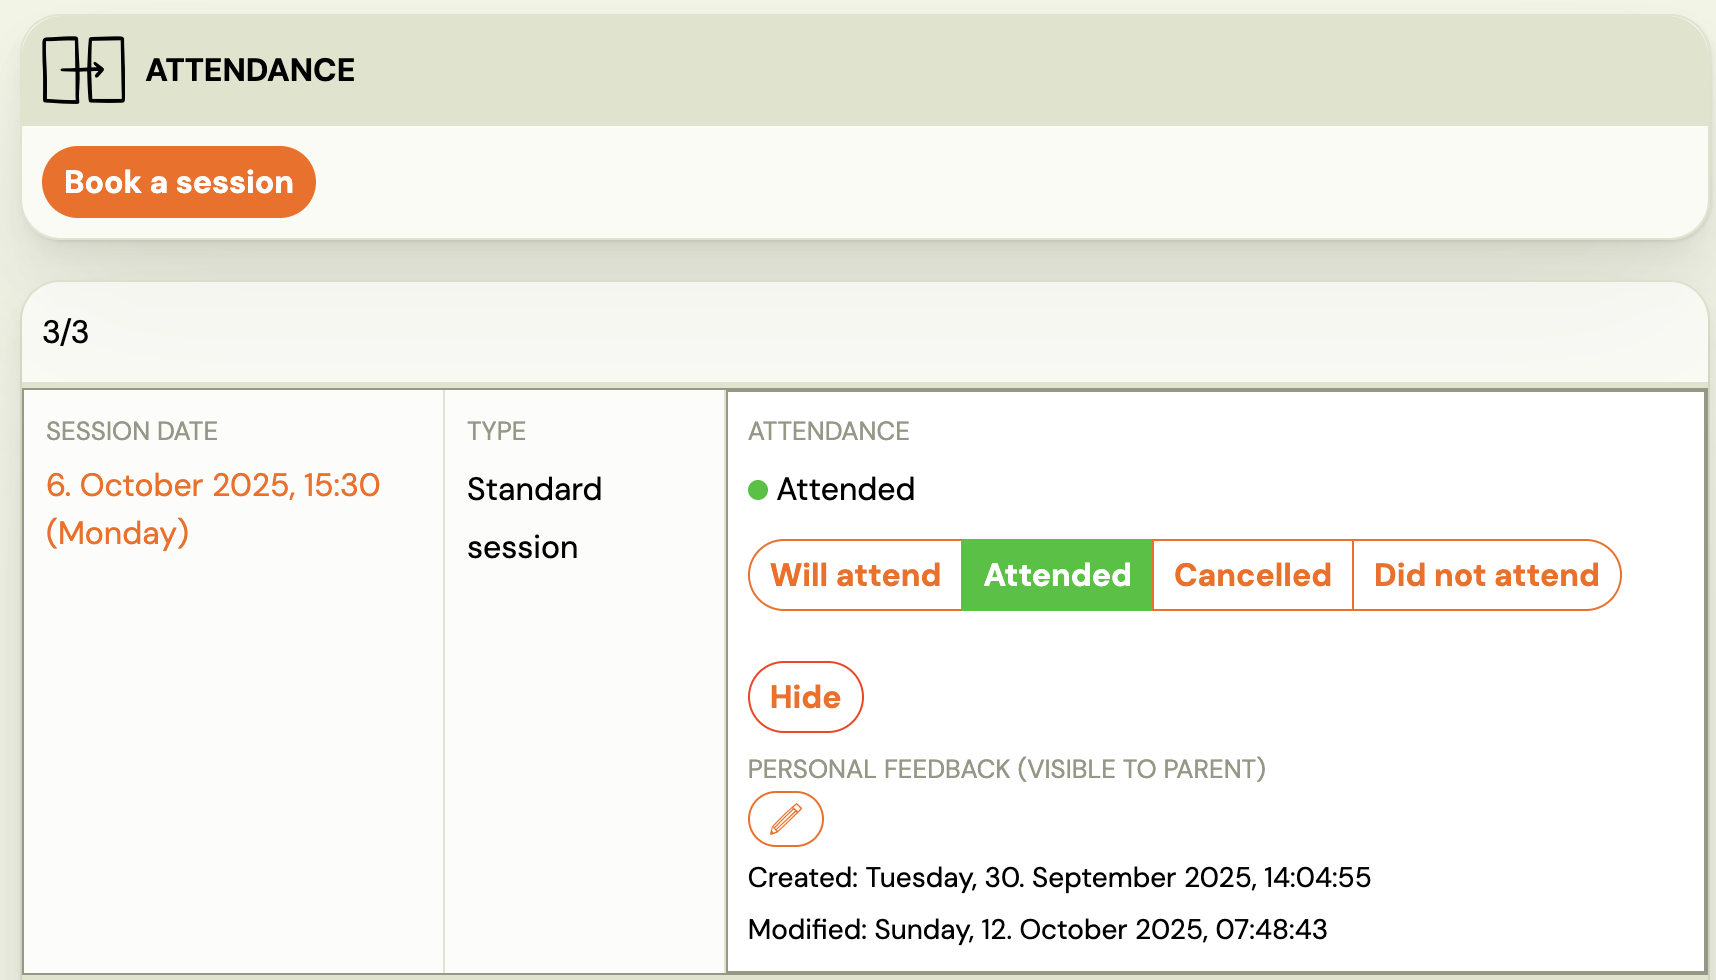
Rescheduling is a two-step action: first hide the original date, then book the new one. These are separate because hiding removes the session from the client's view and from reports — it's not a cancellation of the booking, just a removal of that specific attendance record.
- Go to the booking → Attendance.
- Click Hide on the original session — this removes it from reports and the client's profile.
- Click Book a session to add the replacement date.
The client receives a notification with the new date. The booking status stays as Trial started.
How to transfer a trial to another class
Use this when a client wants to trial a different class, time slot, or location.
Move one session only: Open the booking → Attendance → Book a session, then select the new date and class.
Move the entire trial to a different class:
- Open the booking detail.
- Go to the Class section and click Transfer.
- Select the new class (filter by programme or location if needed).
- Click Transfer to another class → Continue.
- The booking status stays as Trial started.
- Choose the next session date.
- If the client has already paid, tick Do not change payments to leave the payment untouched.
- Choose whether to notify the client.
- Click Continue.
- Go to Attendance → hide the old sessions and add new ones.
How to reschedule a trial that falls on a cancelled session
If you cancel a session that had a trial booked on it, the trial booking is not automatically moved. You need to reschedule it manually:
- Find the affected trial booking (check the cancelled session's booking list before cancelling, or search by client name).
- Follow the reschedule steps above.
This is intentional — Zooza doesn't auto-move trials because the right replacement date depends on what you offered the client.
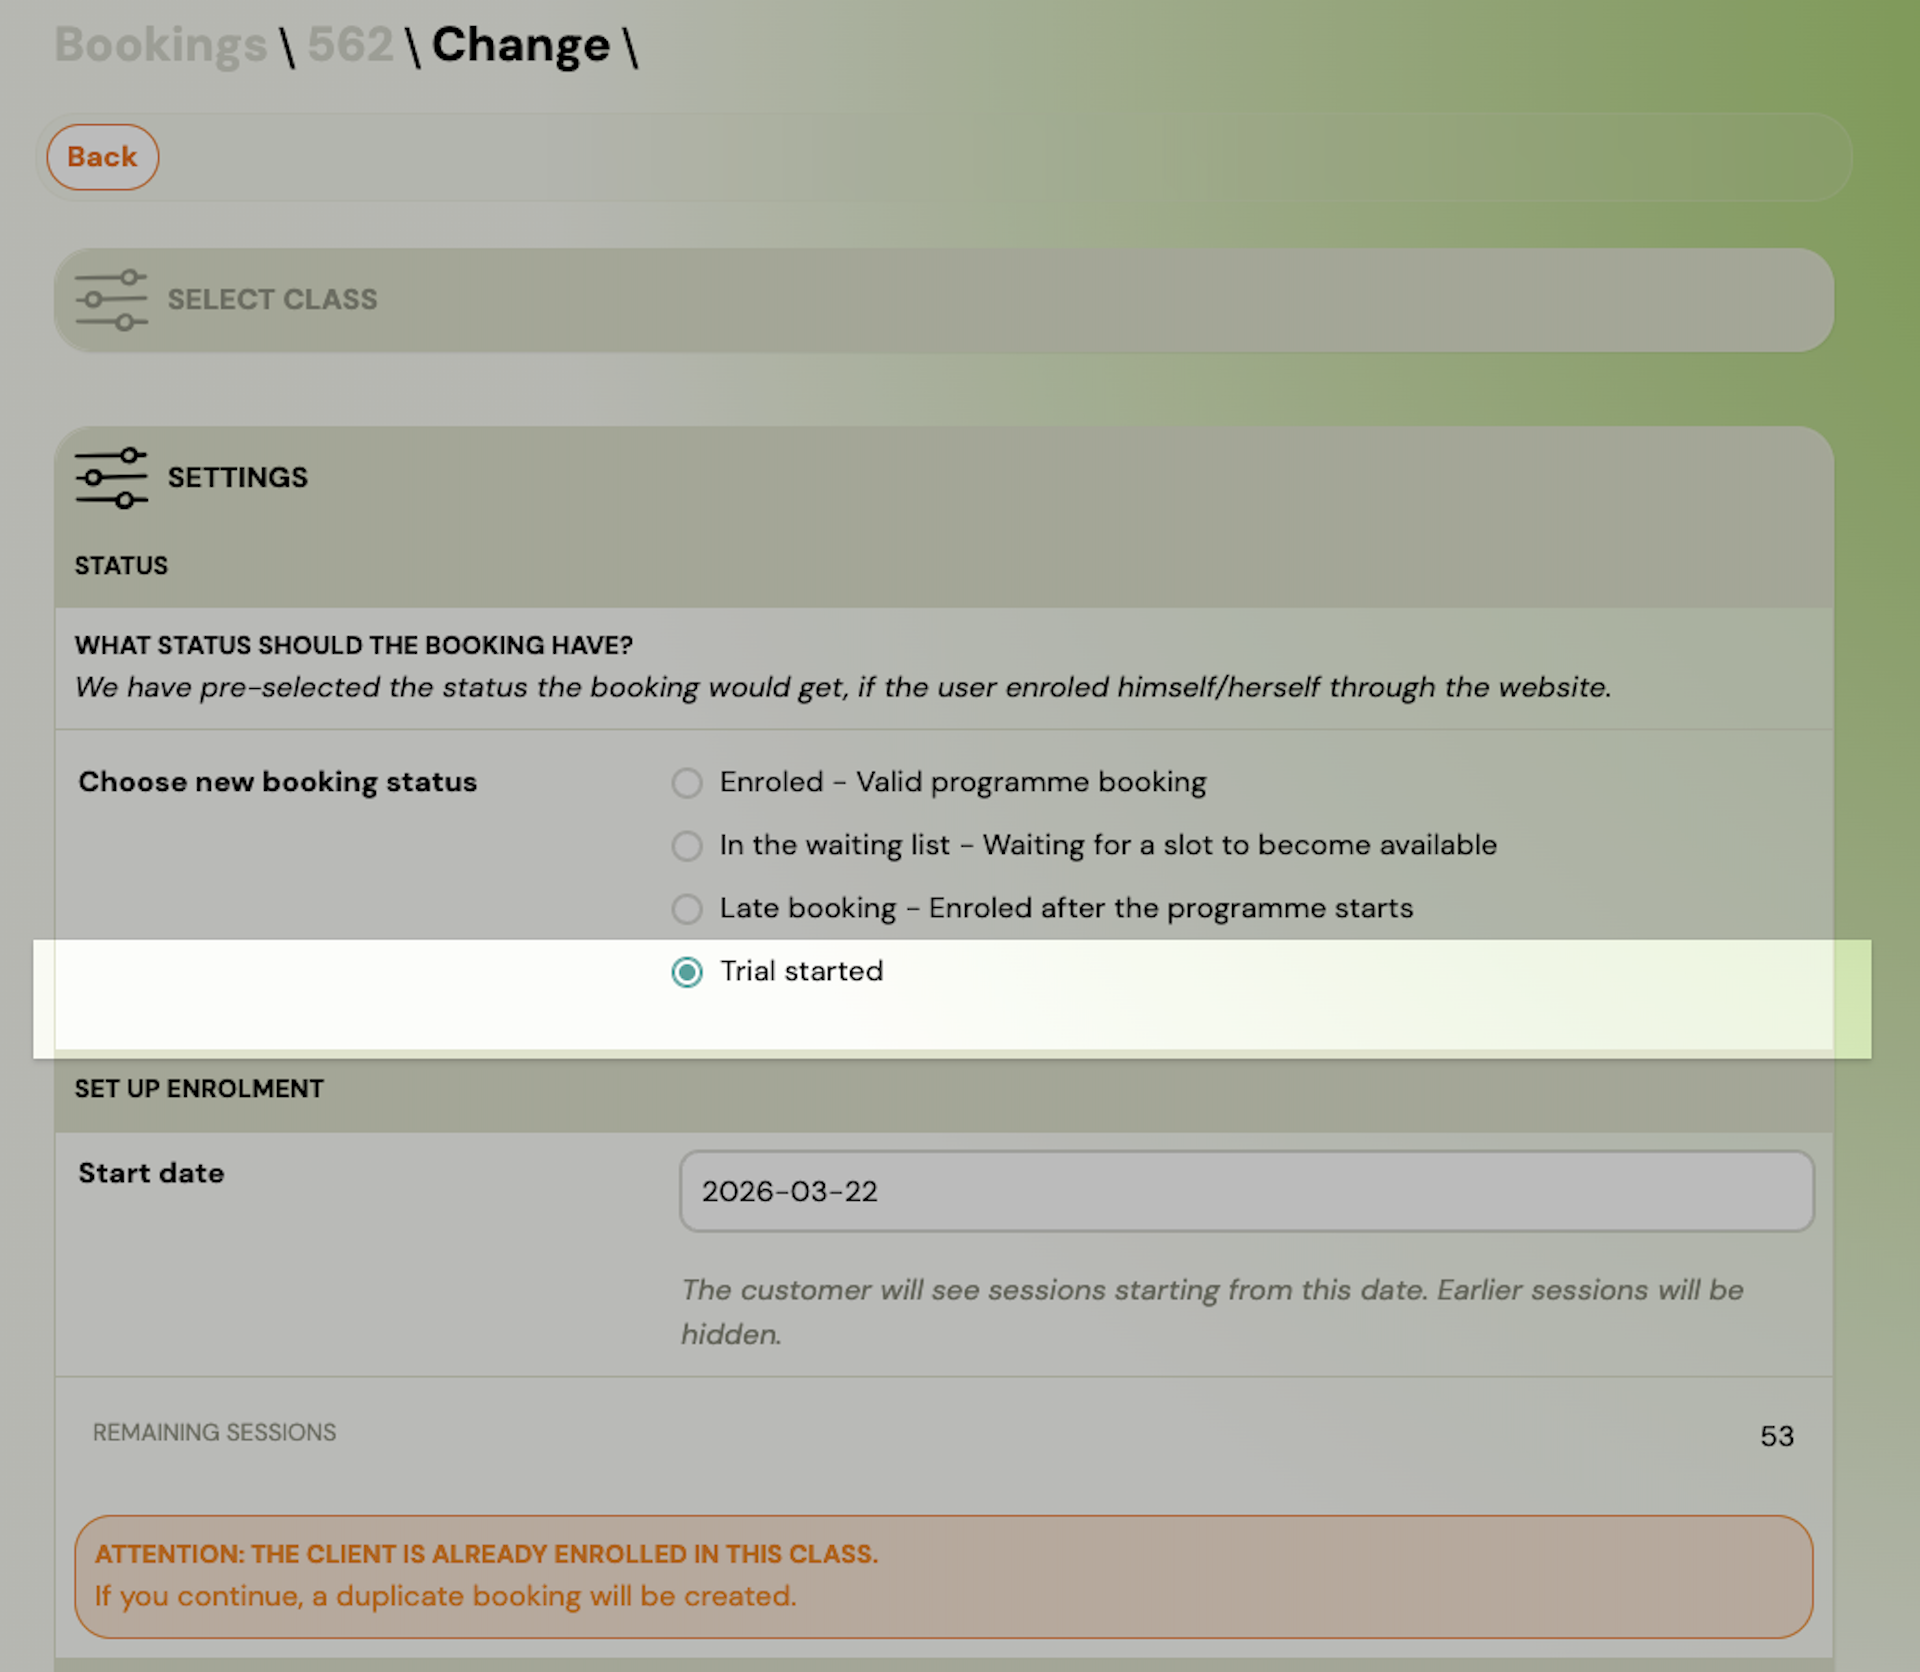
How to convert an existing booking to trial status
If a booking was created as a regular registration or a waitlist booking but should have been a trial:
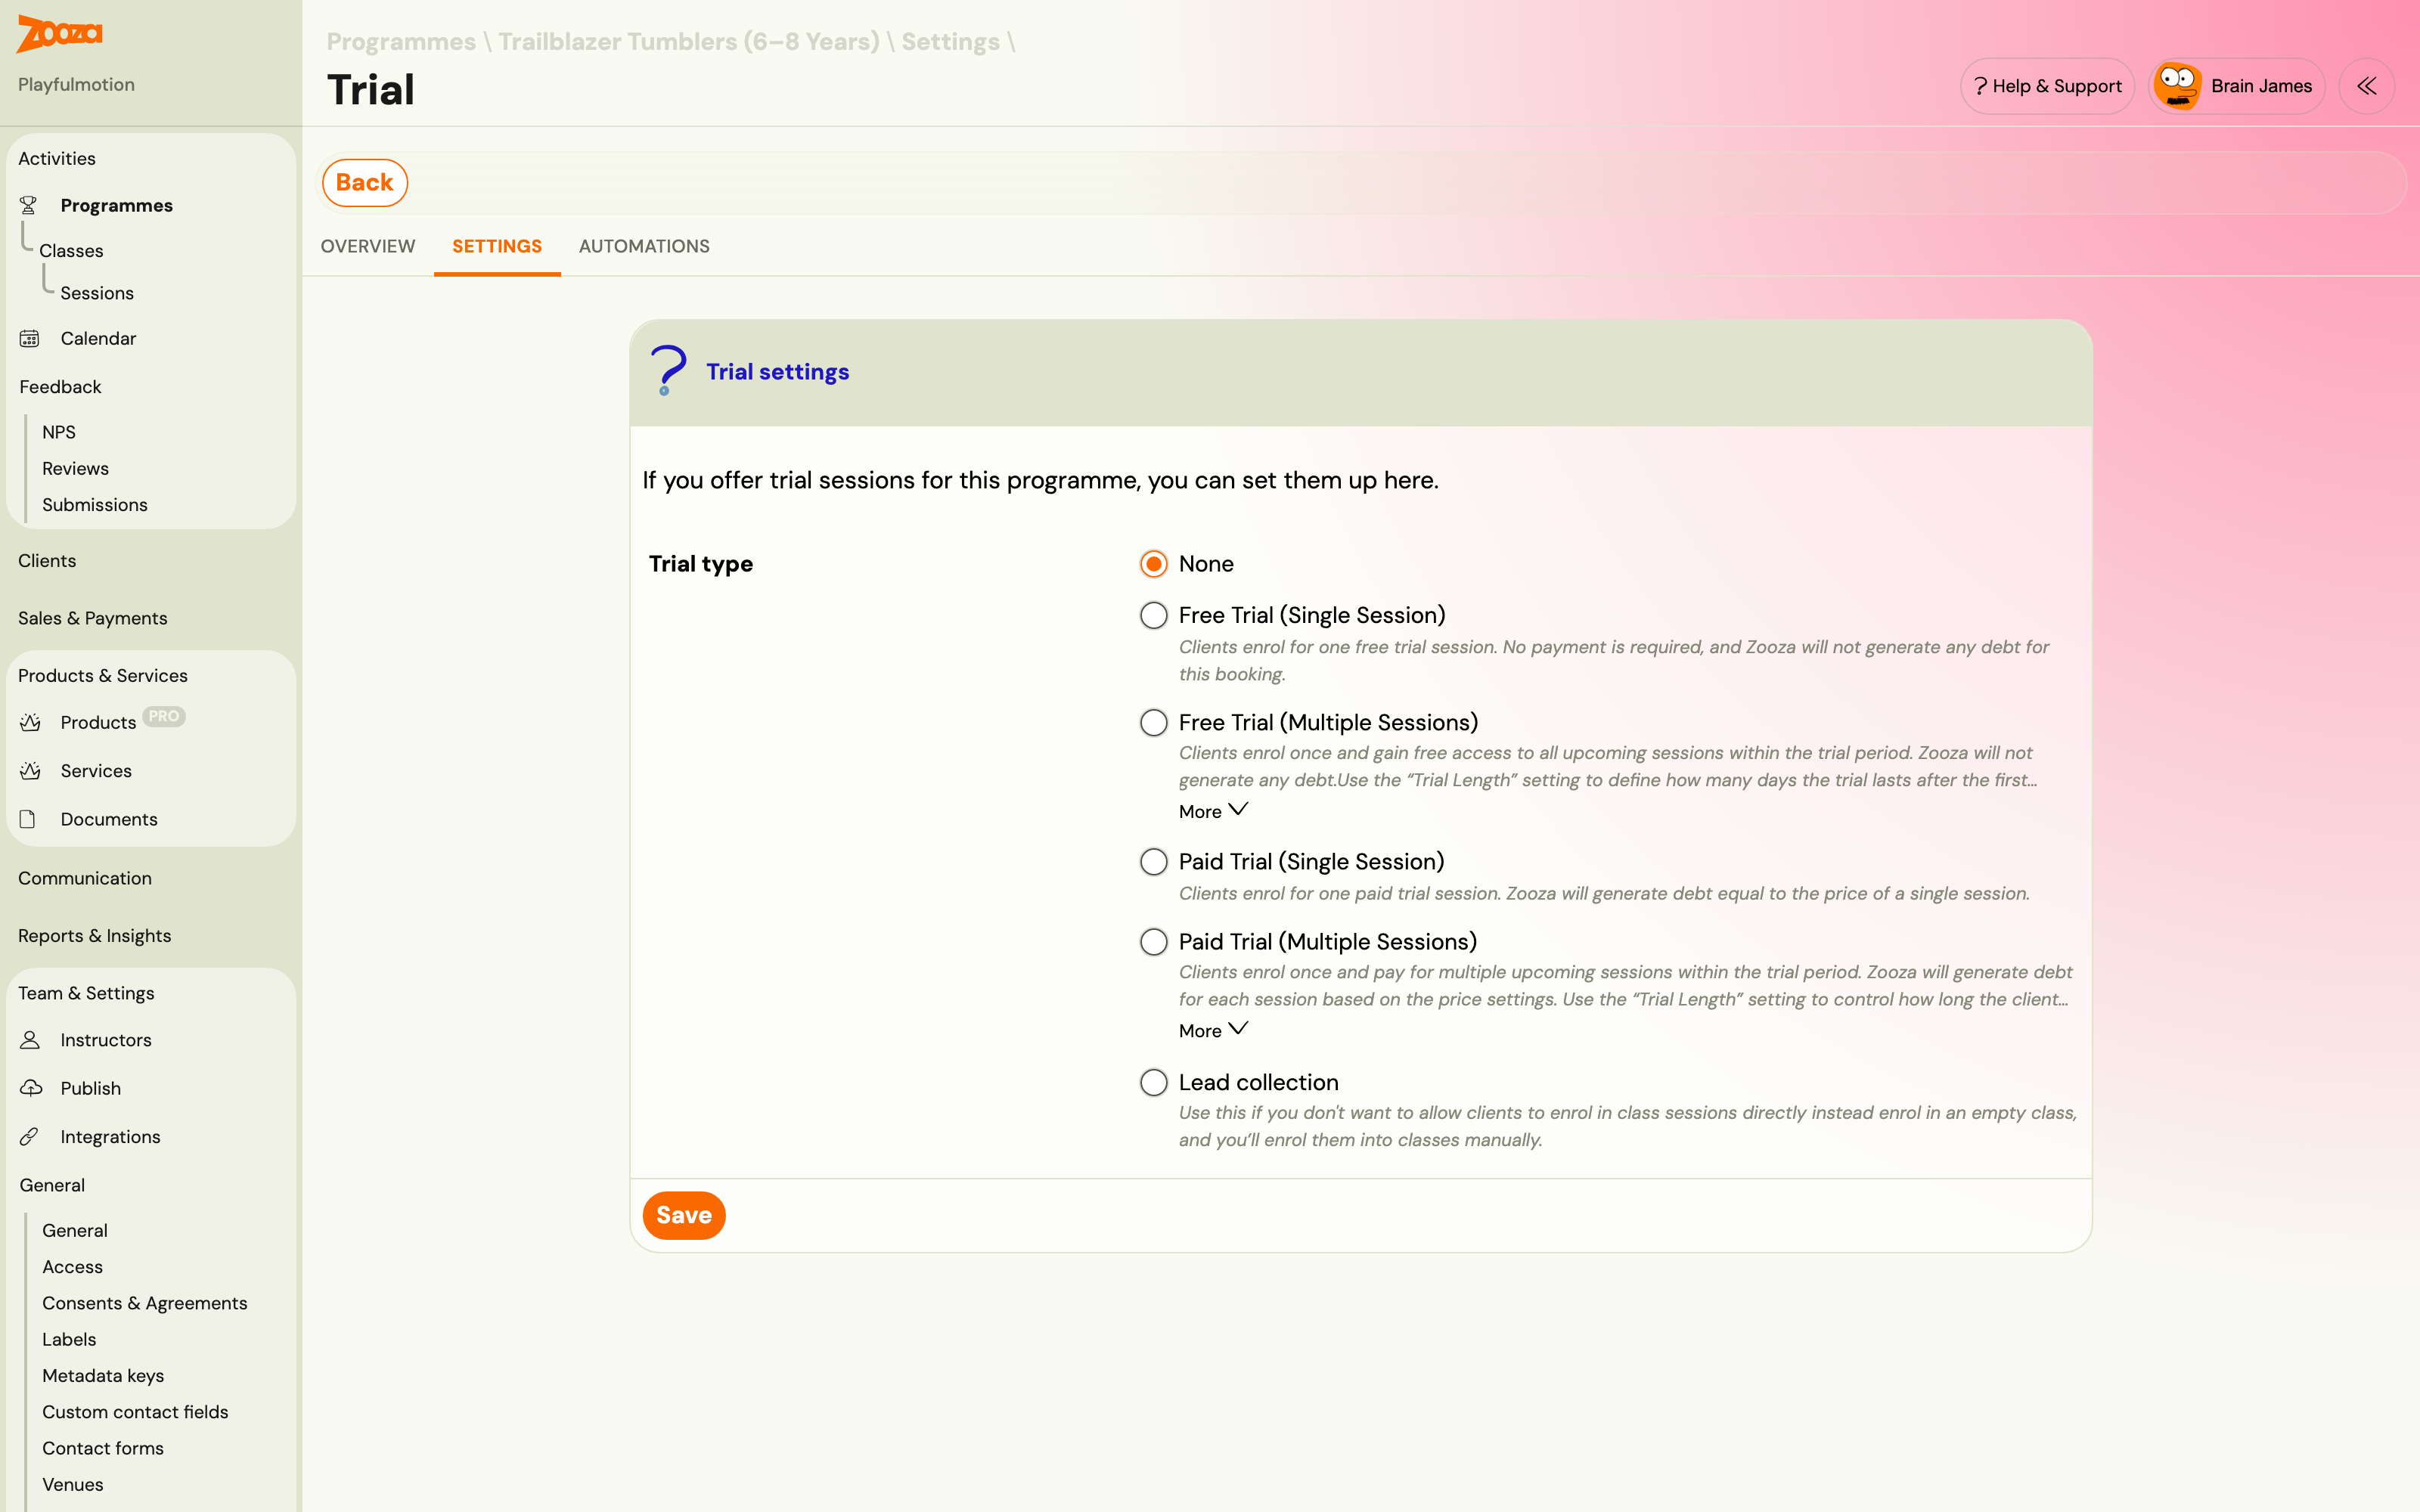
Prerequisite: The programme must have trials enabled — Trial type must not be set to None.
-
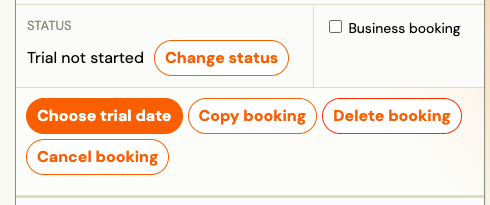
Open the booking detail.
-
Click Change status.
-
Select Convert to trial.
-
Choose a trial date.
After converting, the booking enters the standard trial flow — the same automation applies (follow-ups, auto-lost). Enrol the client into a specific trial session from the Attendance section.
This is a one-way conversion. A trial booking cannot be converted back to a regular registration or waitlist.
Controlling which trial dates appear on your website
Go to Programme → Settings → Trial → Sessions Shown in Form.
Options:
- Show a fixed number of future sessions
- Show sessions within a specific date range (e.g. always the next three weeks)
Trial duration, paid trials, and multi-session trials
Go to Programme → Settings → Trial to configure:
- Trial type: free or paid, single session or multiple sessions
- Unit price per session (for paid trials)
- Reserve seat: whether a trial booking holds a capacity spot until the trial is resolved

Restricting a class to trials only
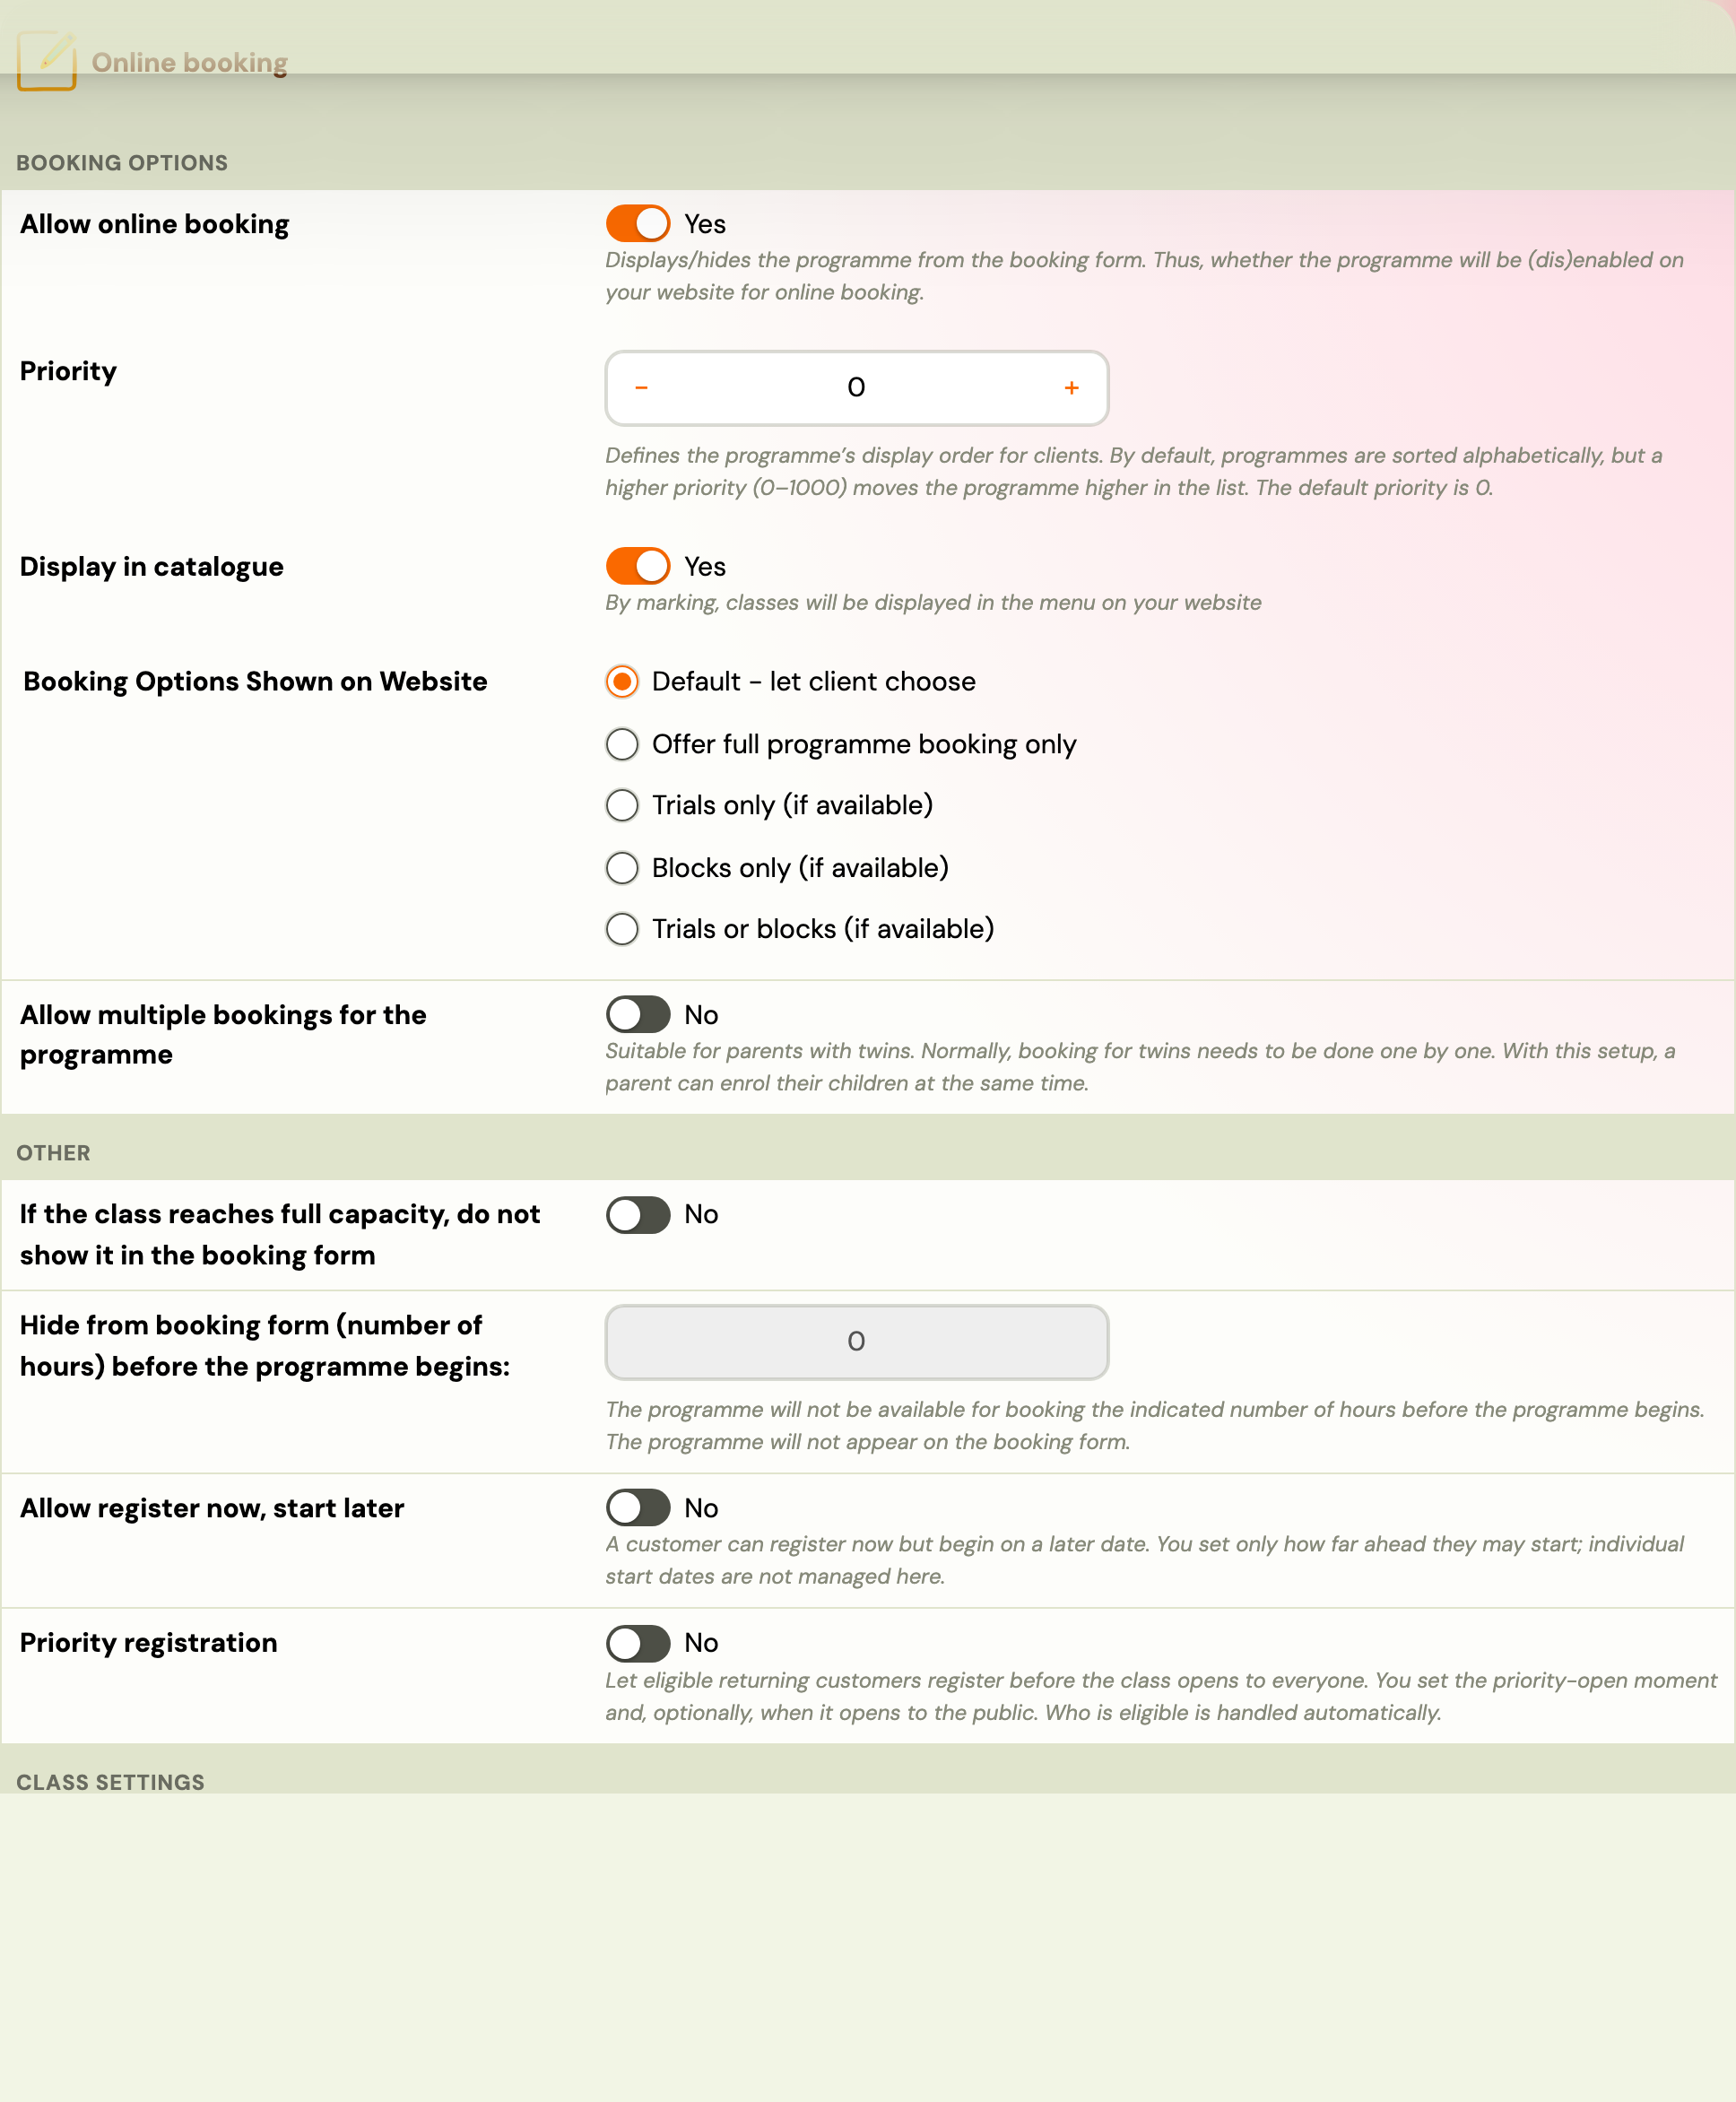
If you want clients to book only trials from the website (not full enrolments):
Go to Programme → Settings → Online booking (Edit) → Booking Options Shown on Website → select Trials only.
Trial capacity and overcapacity with Blocks
If a class uses Blocks, trials can cause overcapacity. This happens because the system can't determine which Block to reserve capacity for — trials then hold spots per individual date, not the full period. Subsequent full-period bookings may then exceed total capacity.
How to avoid this: Set trials to use Extra Capacity. Without Extra Capacity, you'll need to monitor capacity manually when trials are active on a Blocks class.