Creating and managing locations
Locations are the physical venues where your classes take place. Every class requires a location, and the location name appears on your booking forms so clients know where to go. You can also add rooms within a location to track capacity per space.
Go to Settings → Locations to manage all your locations.
Adding a location
-
Go to Settings → Locations.
-
Click Add.
-
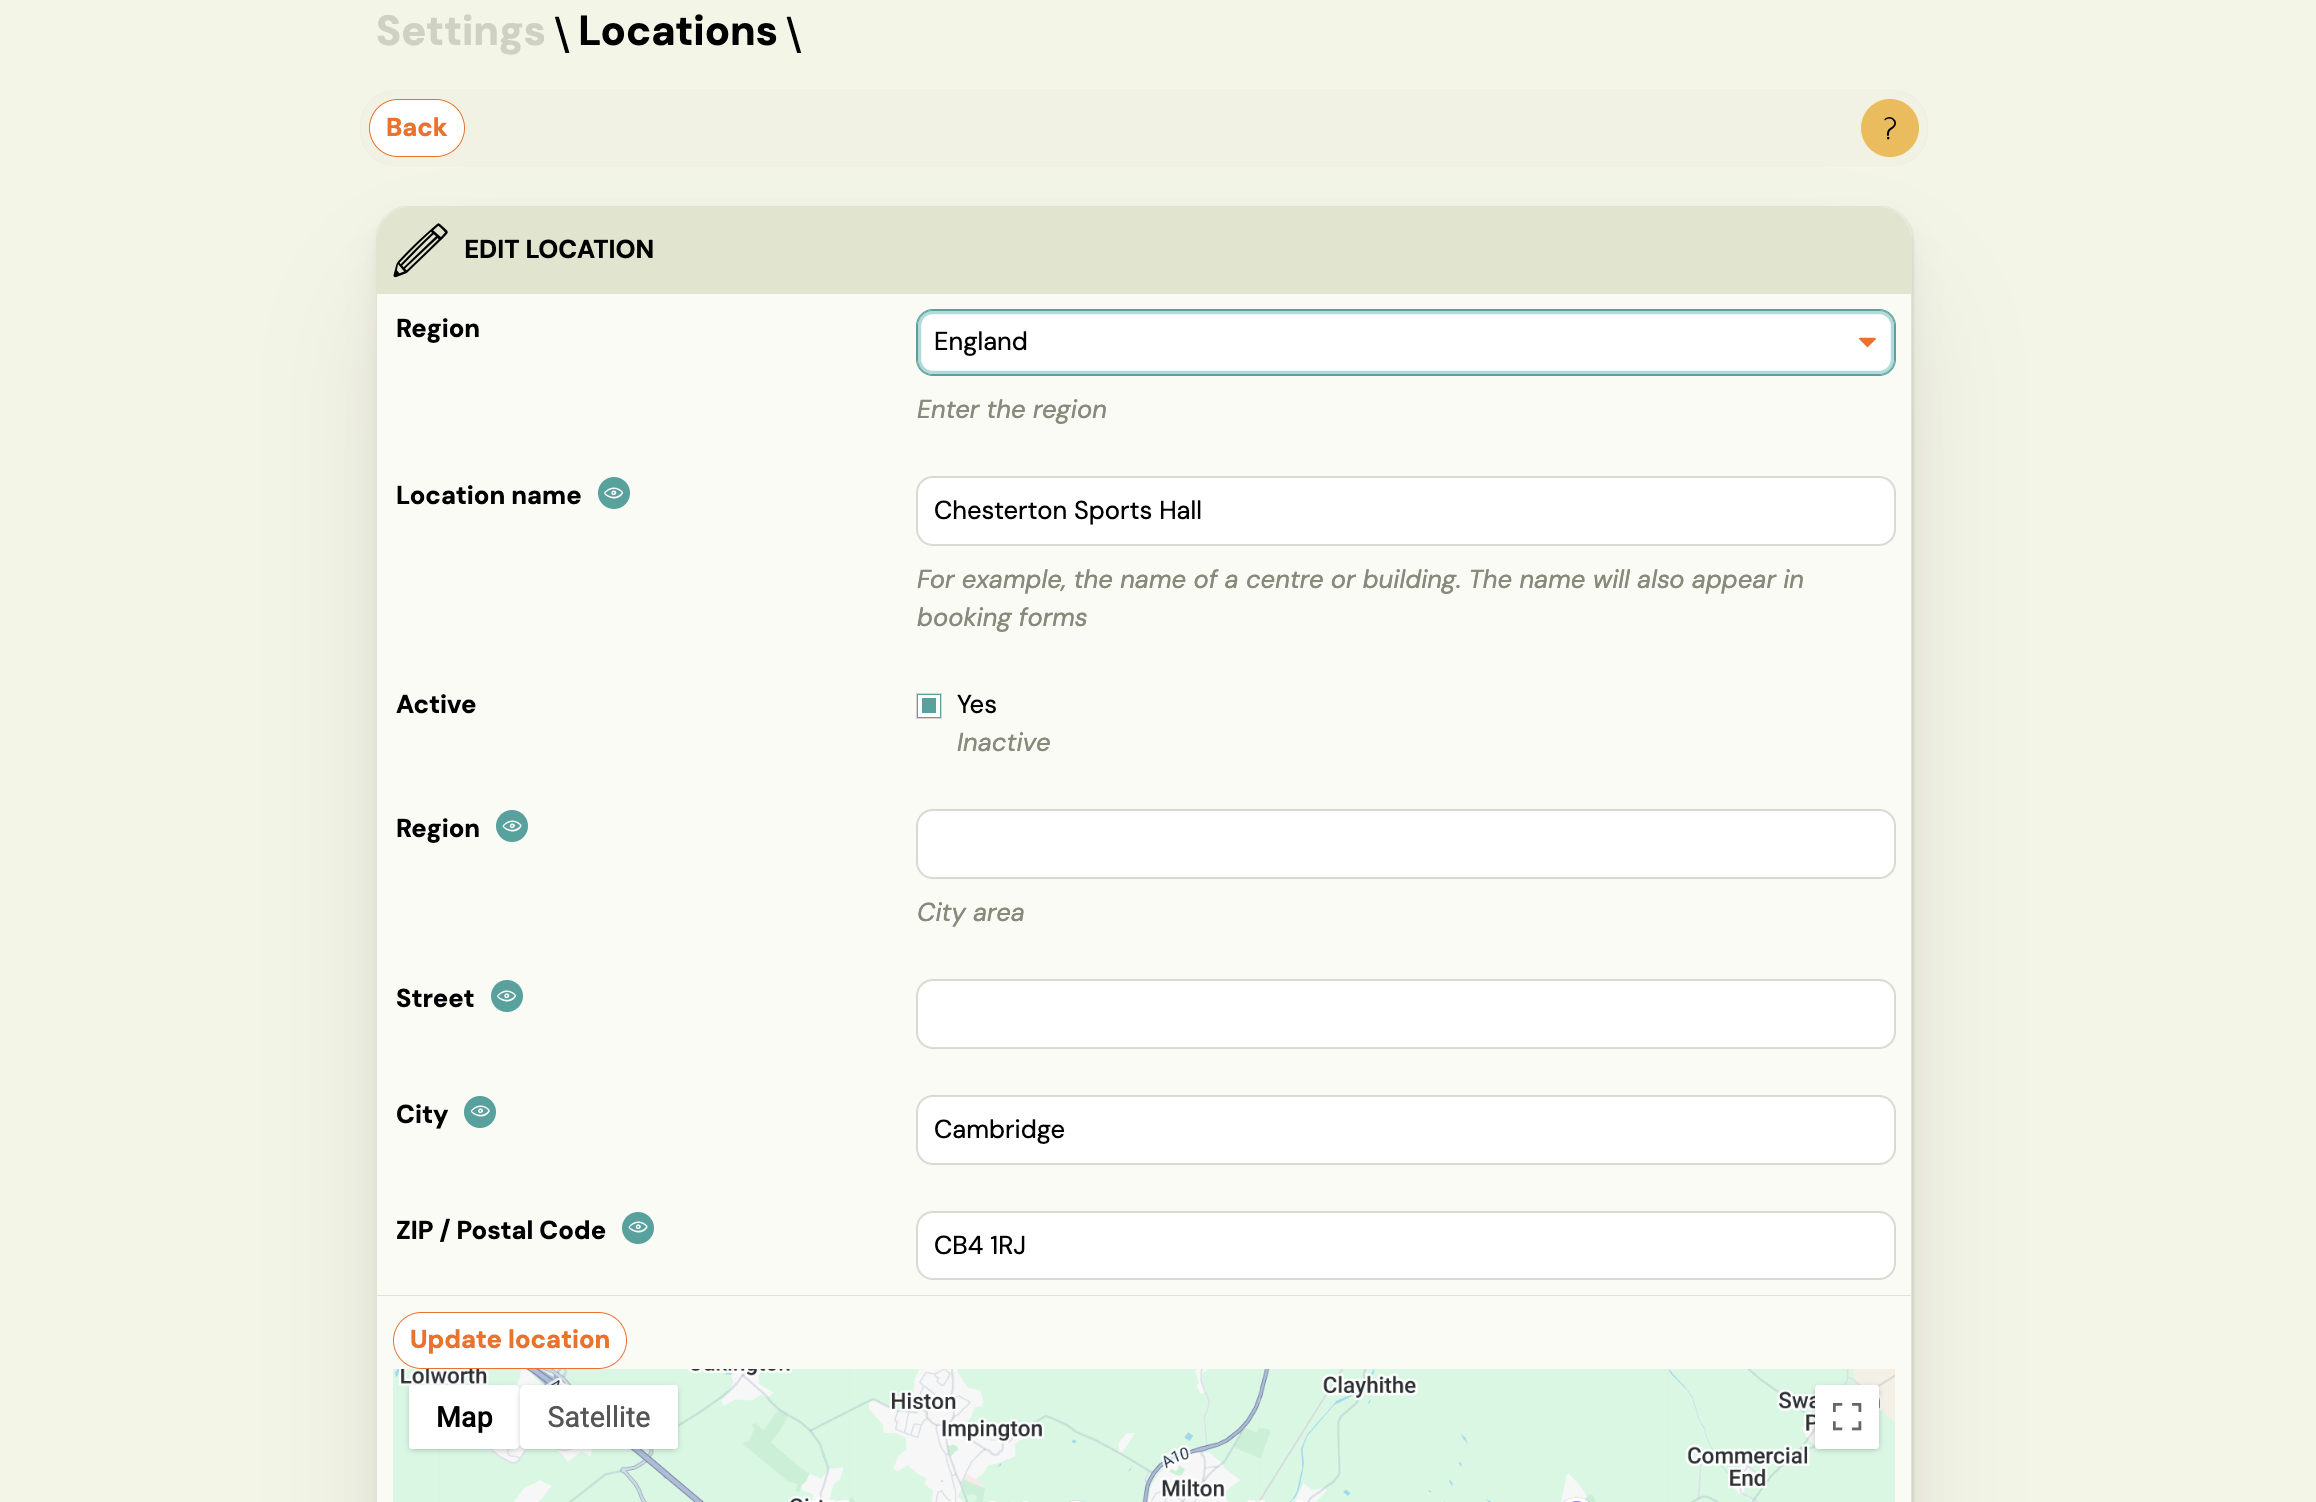
Fill in the fields:
Field Description Region Filter dropdown — assign this location to a region if you use regions to organise your venues. Leave as All if not applicable. Location name The name of the venue (e.g. Chesterton Sports Hall). This name appears on the booking form.Region (second field) City area or district — a freetext label to help clients orient (e.g. North Cambridge).Street Street address. City City name. ZIP / Postal Code Postal code. Used to pin the location on the map. -
Click Add to save.

After saving, the location is available when creating or editing classes.
Editing a location
Open a location from the list to edit it. In addition to the fields above, the edit view includes:
- Active — uncheck to deactivate the location. Inactive locations are hidden from class creation but remain visible on existing classes. Use this instead of deleting when you temporarily stop using a venue.
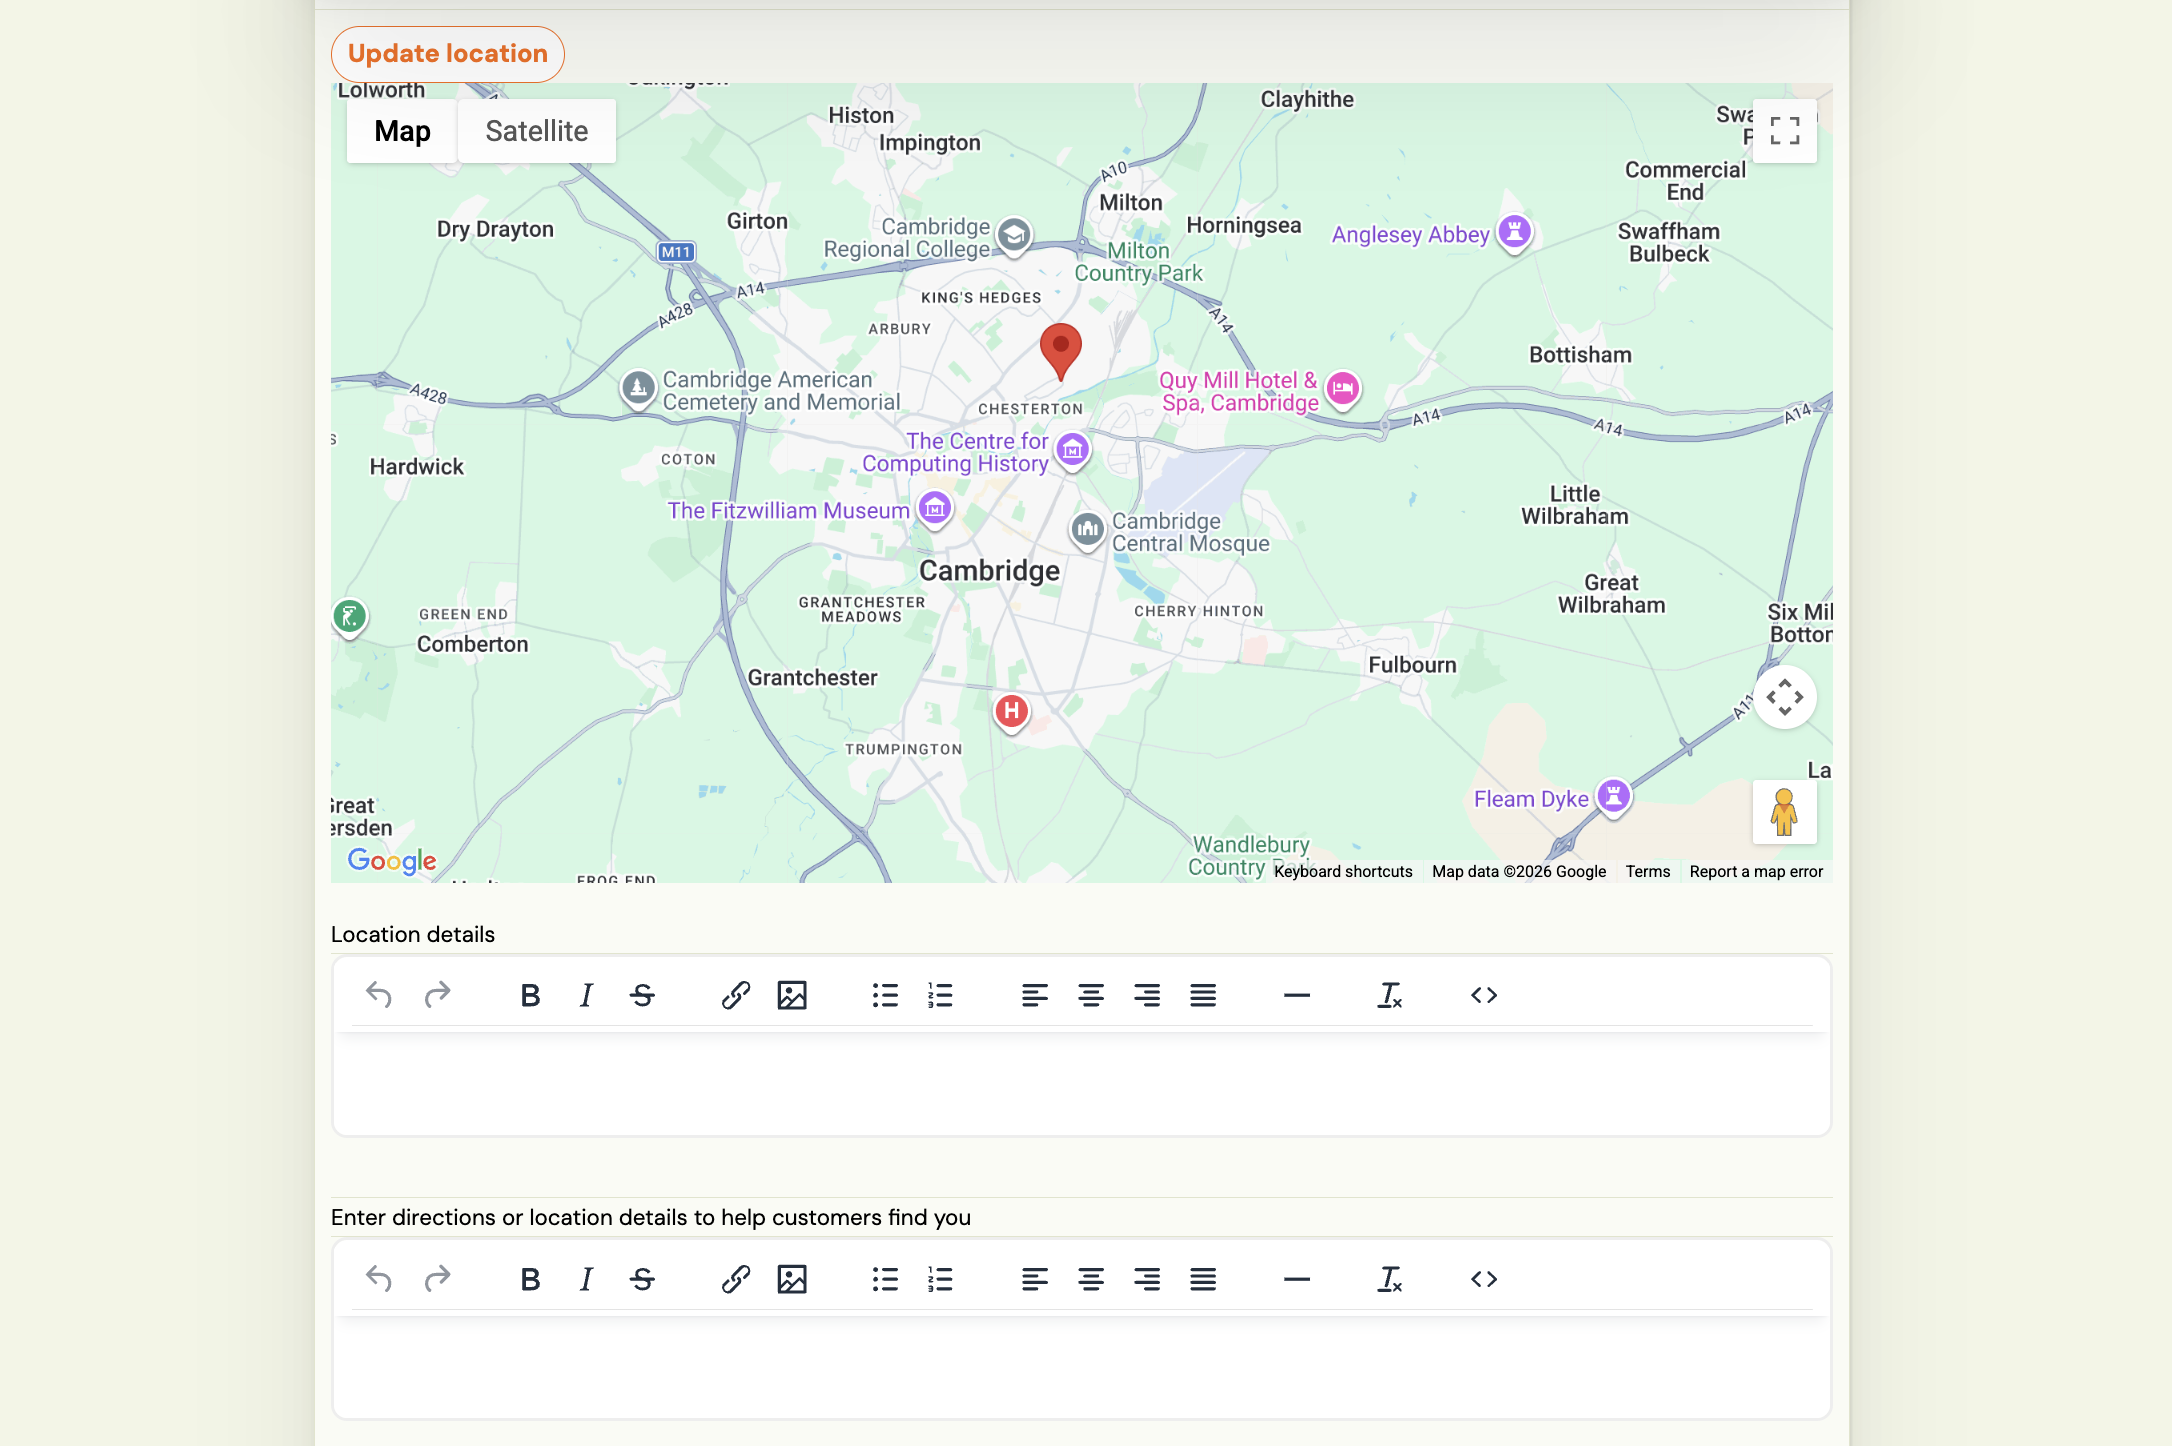
- Update location — click this after changing the address to refresh the map pin.
- Map — a Google Map is shown based on the address. The map appears on the booking form to help clients find you.
- Location details — a rich-text field for any additional details about the venue (e.g. parking, access code, floor number).
- Directions — a second rich-text field specifically for travel directions or arrival instructions shown to clients.
Click Save to apply changes.
Adding rooms to a location
If your venue has multiple rooms (e.g. Studio A and Studio B), you can define them here. Room capacity is used when assigning classes to specific rooms.
- Open a location.
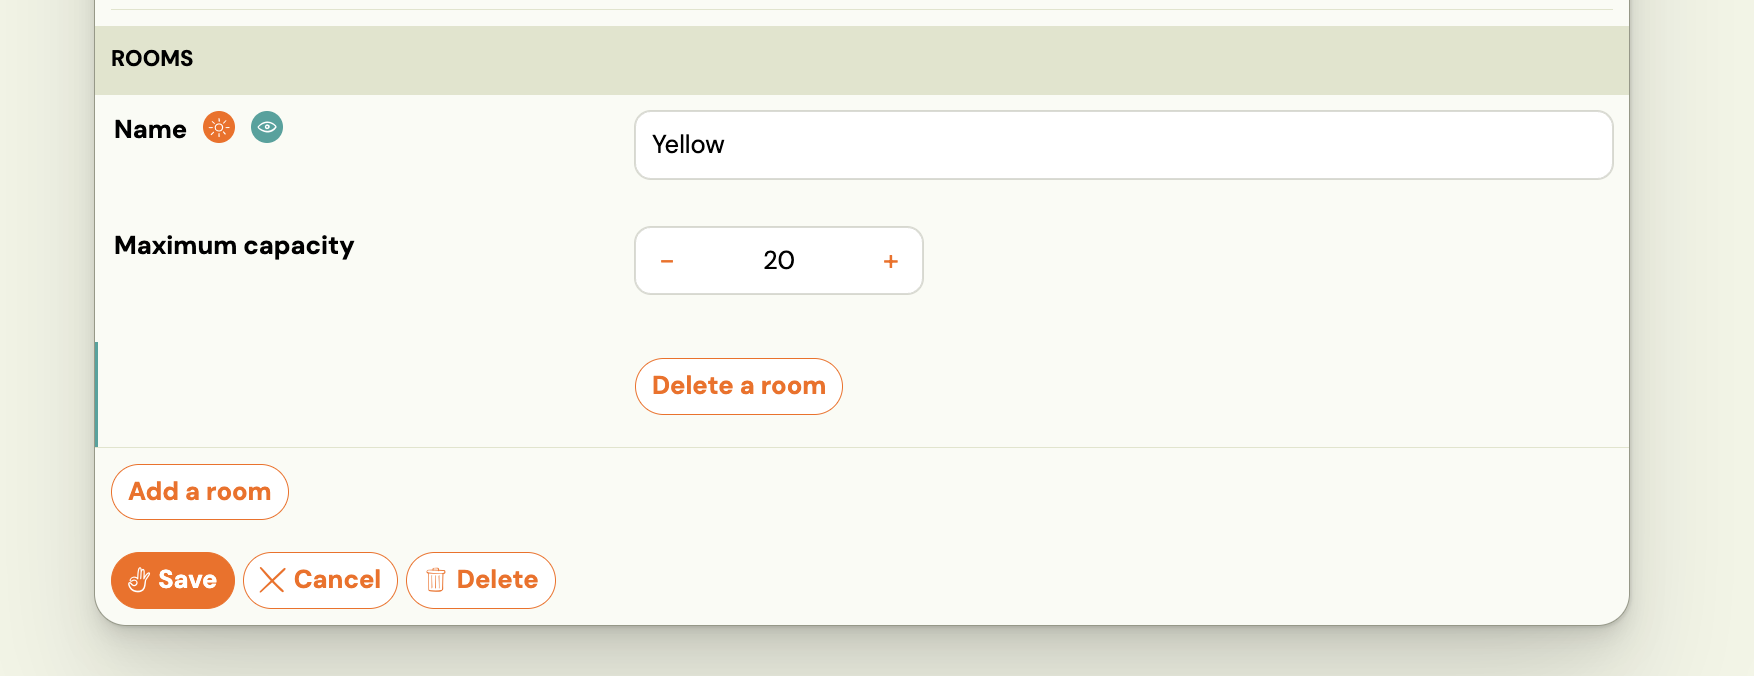
- In the Rooms section, click Add a room.
- Enter the room Name and set the Maximum capacity.
- Click Save.
You can add multiple rooms. To remove a room, click Delete a room next to it.
Rooms are optional. If you don't need to track capacity per room, leave this section empty.
Deleting a location
Click Delete on the edit screen. Before deleting, make sure no active classes are assigned to this location — classes without a valid location will behave unexpectedly.
If you want to stop using a venue without removing it, set it to Inactive instead.